A Beginner's Guide to Building and Deploying Smart Contract on DComm Blockchain


DComm Blockchain is an EVM-compatible Blockchain supporting all the popular tools like Metamask, Remix, Truffle, etc. to build and deploy dApps and smart contracts. DComm also provides a composable VM architecture that allows developers to launch blockchains with a wide array of application-specific features. DComm Blockchain's mission is to become the leading blockchain platform for tokenizing real-world assets. At the core of its business and technological infrastructure is a cutting-edge third-generation blockchain. To support this initiative, the company offers applications, services, APIs, partnerships, and an open-source library of knowledge. As the importance of smart contracts on this network continues to grow, developers must understand how to build and deploy them.
Smart Contracts A smart contract is a self-executing program that runs on a blockchain platform. It is a digital agreement between two or more parties that is stored on a decentralized network and automatically enforces the terms of the agreement. Smart contracts are designed to eliminate the need for intermediaries, such as lawyers or banks, by automating the execution of a contract and ensuring that all parties abide by the terms of the agreement.
In this tutorial, we will learn about DComm Blockchain Network and how to build and deploy a smart contract on the DComm network.
Understanding the DComm Network
The DComm Network is a blockchain platform that uses a third-generation blockchain protocol to facilitate the tokenization of real-world assets. The specific protocol used by the DComm Network is not mentioned in the information provided, but third-generation blockchain protocols typically refer to newer and more advanced blockchain technologies that address the limitations of earlier protocols.
Third-generation blockchain protocols typically feature faster transaction speeds, increased scalability, improved security, and greater flexibility. They also typically offer more advanced smart contract functionality, enabling the creation of more complex and sophisticated applications on the blockchain.
In addition to its use of a third-generation blockchain protocol, the DComm Network is also supported by a range of applications, services, APIs, partnerships, and an open-source library of knowledge. These resources make it easier for businesses and developers to use the network and build applications on top of it.
Overall, the DComm Network's use of a third-generation blockchain protocol, combined with its support resources, makes it a promising platform for businesses looking to digitize and trade real-world assets in a secure and efficient manner.
Why DComm?
The DComm Network is a blockchain platform that offers several advantages for businesses and developers looking to digitize and trade real-world assets. Some of the main traits of the DComm Network include:
Tokenization of real-world assets: The DComm Network is designed to facilitate the tokenization of real-world assets, such as real estate, commodities, and art. This allows businesses to create digital representations of these assets, which can be traded on the blockchain. Tokenization can help to reduce costs, increase efficiency, and improve transparency in business transactions.
Third-generation blockchain protocol: The DComm Network uses a cutting-edge third-generation blockchain protocol that offers faster transaction speeds, increased scalability, improved security, and greater flexibility compared to earlier blockchain protocols. This makes it easier for businesses and developers to use the network and build applications on top of it.
Support resources: The DComm Network is supported by a range of applications, services, APIs, partnerships, and an open-source library of knowledge. These resources make it easier for businesses and developers to use the network and build applications on top of it.
Decentralized and secure: The DComm Network is decentralized, which means that there is no central authority controlling the network. This helps to ensure that transactions are secure and transparent and that all parties involved in a transaction are held accountable.
Overall, the DComm Network offers a promising solution for businesses and developers looking to digitize and trade real-world assets in a secure, efficient, and transparent manner.
In the following section, let's dive deeper into the practical aspect of building and deploying smart contracts on the dcomm network.
Prerequisite
Let's make sure Node/NPM is set up on our computer. Here is a guide if we don't already have it installed.
Project Setup and Installation
Let's navigate to the terminal. We'll need to cd into any directory of our choice and then run the following commands:
mkdir dcomm-project
cd dcomm-project
npm init -y
npm install --save-dev hardhat
Let's create a sample project by using the following command:
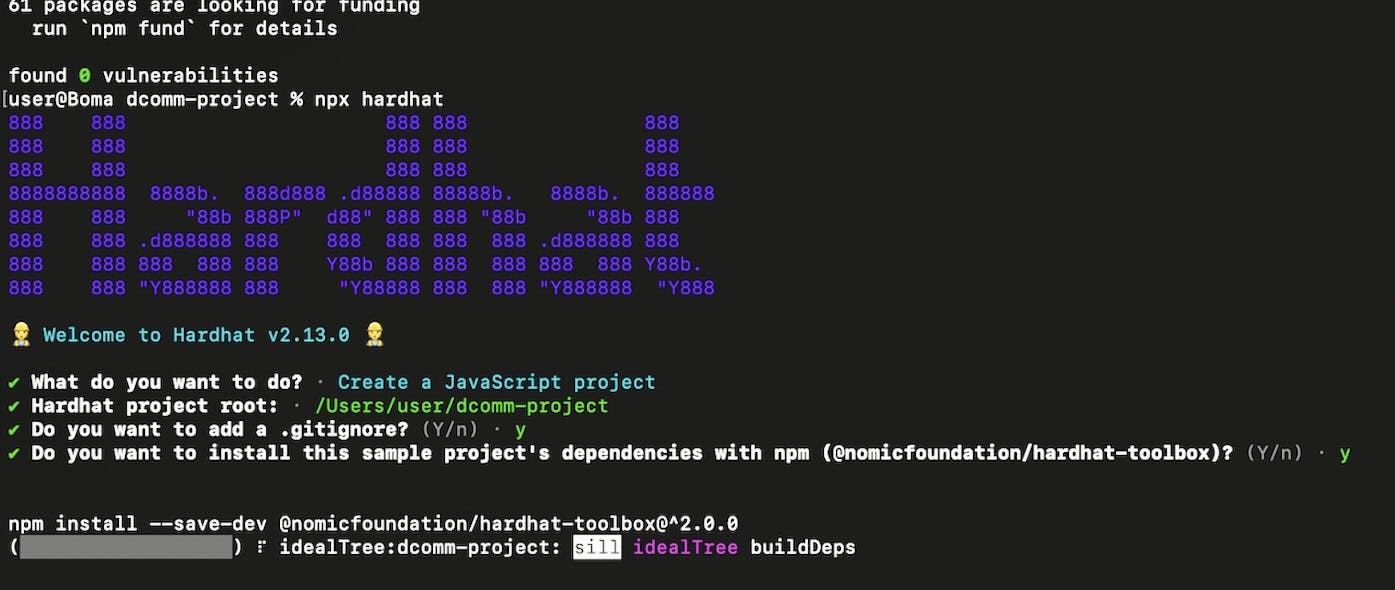
npx hardhat
The above command will check if we have hardhat installed globally; if not, it will download it from the npm registry and run the command using the downloaded version.
Accept the following options.
Let's run the command below to verify that everything is operating as it should.
npx hardhat test
A passing test result will appear in our console.
Now, Lock.js may be removed from the test directory and deploy.js the scripts directory. After that, delete Lock.sol in the contract directory.
Create a Greeter Smart Contract
This section will create a Greeter.sol file in the contract directory with the following code snippet.
// SPDX-License-Identifier: UNLICENSED
pragma solidity ^0.8.9;

// Define a smart contract called "Greeter"
contract Greeter {
    // Define a public variable called "greeting" of type string
    string public greeting;

    // Define a constructor that takes in a string and assigns it to the "greeting" variable
    constructor(string memory _greeting) {
        greeting = _greeting;
    }

    // Define a function called "setGreeting" that allows the "greeting" variable to be changed
    function setGreeting(string memory _greeting) public {
        greeting = _greeting;
    }

    // Define a function called "greet" that returns the current "greeting" variable
    function greet() public view returns (string memory) {
        return greeting;
    }
}
In the code snippet above, it's important to note that the line SPDX-License-Identifier: UNLICENSED serves as a unique identifier to signify that the code is unlicensed and available for anybody.
Testing the Smart Contract
Create a new file called Greeter-test.js inside the test directory and update it with the following code snippet.
const { expect } = require("chai");
const { ethers } = require("hardhat");

describe("Greeter", function () {
  it("Should deploy the Greeter contract", async function () {
    // Get the contract factory for the "Greeter" contract
    const Greeter = await ethers.getContractFactory("Greeter");
    // Deploy the contract to the blockchain
    const greeter = await Greeter.deploy("Hello, world!");

    // Wait until the contract is deployed
    await greeter.deployed();

    // Check that the contract's greet() method returns the expected greeting
    expect(await greeter.greet()).to.equal("Hello, world!");
  });

  it("Should return the new greeting once it's changed", async function () {
    // Get the contract factory for the "Greeter" contract
    const Greeter = await ethers.getContractFactory("Greeter");
    // Deploy the contract to the blockchain
    const greeter = await Greeter.deploy("Hello, dcomm!");

    // Wait until the contract is deployed
    await greeter.deployed();

    // Check that the contract's greet() method returns the expected greeting
    expect(await greeter.greet()).to.equal("Hello, dcomm!");

    // call the setGreeting method
    const setGreetingTx = await greeter.setGreeting("Hello, dcomm!");

    // wait until the transaction is mined
    await setGreetingTx.wait();

    // Check that the contract's greet() method returns the new greeting
    expect(await greeter.greet()).to.equal("Hello, dcomm!");
  });
});
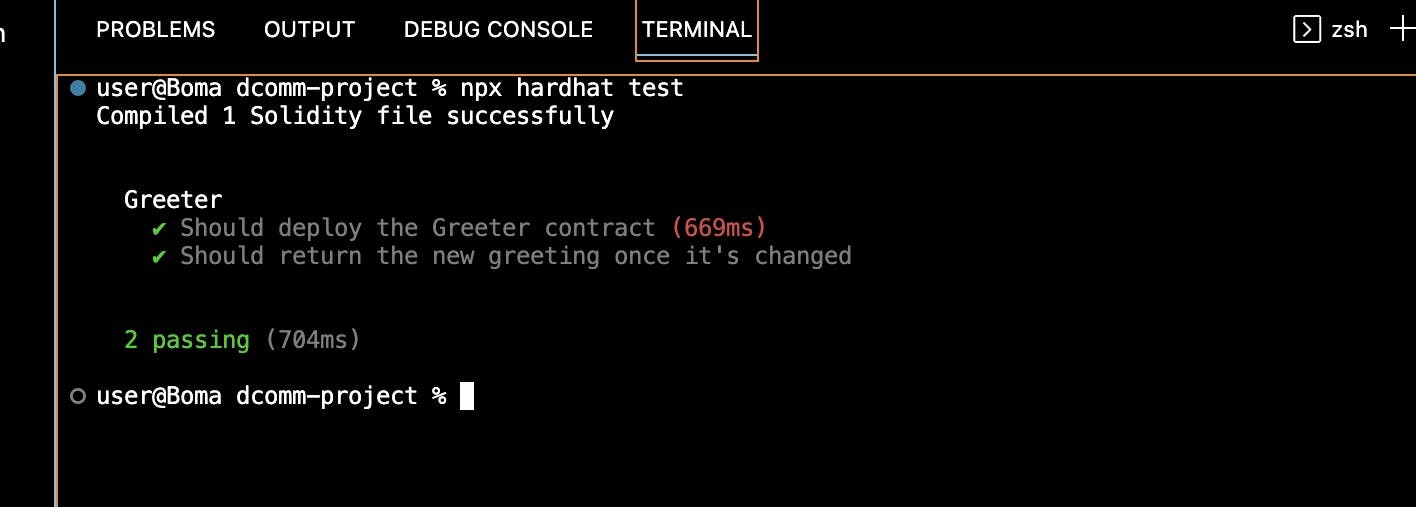
Next, run the following command in the terminal to compile test cases.
npx hardhat test
We should have something similar to this image below
Compile and Deploy the Greeter Smart Contract to the DComm Network
To compile the smart contract, we will need to create a new file deploy.js inside the scripts folder and update it with the following code snippet.
const main = async () => {
  // Get the contract factory for the "Greeter" contract
  const greeterContractFactory = await hre.ethers.getContractFactory("Greeter");

  // Deploy the contract to the blockchain
  const greeterContract = await greeterContractFactory.deploy(
    "Hello, Hardhat!"
  );

  // Wait until the contract is deployed
  await greeterContract.deployed();

  // Log the address of the deployed contract
  console.log("Greeter Contract deployed to: ", greeterContract.address);
};

const runMain = async () => {
  try {
    // Call the main function
    await main();
    process.exit(0);
  } catch (error) {
    // Log any errors that occur
    console.log(error);
    process.exit(1);
  }
};

// Run the main function
runMain();
In the code snippet above,
This script deploys a smart contract called
Greeterto the blockchain using thehre.etherslibrary.The
greeterContractFactory.deploy()method deploys a new contract instance to the blockchain.await greeterContract.deployed()method is used to await the contract deployment.The address of the deployed contract is then logged into the console, and then
runMain()function is a wrapper function that runs the main function and catches any possible errors.
Run the following command to install .env file locally
npm install dotenv --save
Next, create .env on the project's root directory to store the private key, which we will use in the hardhat.config.js file during deployment.
PRIVATE_KEY=
Navigate to the hardhat.config.js file and then add the following code snippet.
require("@nomicfoundation/hardhat-toolbox");
require("dotenv").config();

/** @type import('hardhat/config').HardhatUserConfig */
module.exports = {
  // Specify version of solidity compiler
  solidity: "0.8.17",

  // Define networks to be used for testing and deployment
  networks: {
    // Hardhat network is a built-in development network in Hardhat
    hardhat: {
    },
    // Local network is a network running on localhost
    local : {
      url: "http://localhost:8545",
    },
    // dcomm network is a network hosted by dcomm
    networks: {
    "dcomm-goldcoast": {
      url: process.env.DCOMM_GOLD_COAST,
      // Use the private key specified in the .env file
      accounts:[process.env.PRIVATE_KEY],
    },
  },
etherscan: {
    apiKey: process.env.API_KEY,
  }
};
This is a configuration file for the Hardhat development environment.
We will deploy the smart contract in the next step, but we need to ensure we fund our wallet with a test DCM token. DCOMM Shared API Setup Guide- Zeeve Platform and fund the wallet using this dcomm faucet site.
After setting up our Zeeve Platform account and funding our Metamask by clicking the links above, we can now deploy the smart contract on the DComm network using the following command.
npx hardhat run --network dcomm-goldcoast scripts/deploy.js

Our Smart Contract has been deployed successfully. To follow up, you can find the entire code for this project here.
Conclusion
This article provided a beginner-friendly guide to building and deploying smart contracts on the DComm network. Using the Hardhat development environment and Zeeve platform, we also demonstrated how to deploy a smart contract to the dcomm-goldcoast network.
I'd love to connect with you on Linkedln | Twitter | Github.
See you soon. Take care!!!